
|
"The art of teaching is the art of assisting discovery"
|
|
|
|
"The art of teaching is the art of assisting discovery"
|
|
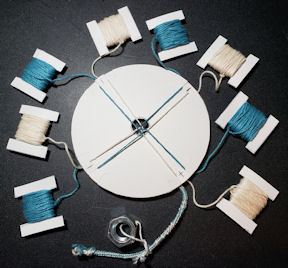
Using supplies you probably have at home, we'll learn how to braid a two color round cord on a handheld disk! It's fun, easy, and portable! Kumihimo cord can be used for award cord, drawstrings, necklaces, trim, ribbon, bracelets, shoe laces, and more.
This is a beginner class and no experience at anything is necessary.
The class is 2 hours to allow students to get hands on practice during class time.

Class Handouts | Make Your Own Kumihimo Disk | Bobbins | Counterweight | Yarn
What You Need
Get Ready For Class
|
 |
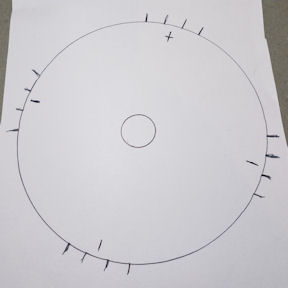
| Print the
disk template
On a piece of cardboard (cereal box, notepad cardboard, box cardboard, etc.) trace:
On your cardboard, outside the outer edge of your tracing:
|
 |
|
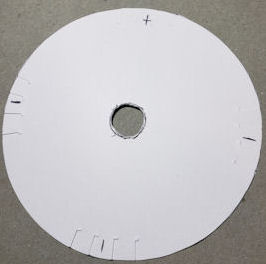
On your cardboard:
|
 |
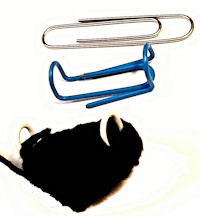
| They can be the Floss Holder Bobbins or the Paperclip Bobbins you can find on this page | 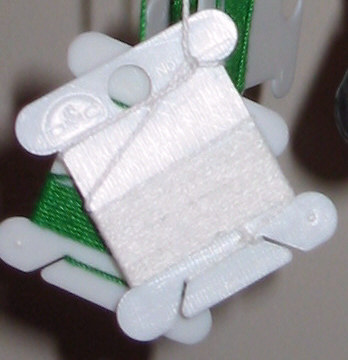
|
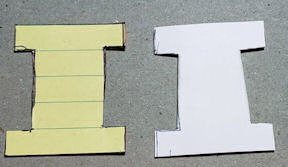
| Or you can cut some out of the same
cardboard you used to make the disk.
Here I've cut out a bobbin pattern from lined note paper and used that as my template to cut 8 cardboard bobbins. They are about 1.5 inches wide by 2 inches tall. |
 |
You can use anything as a counterweight; if it doesn't have a hole in to tie a cord to, you can tie it into a small bag or a piece of cloth so that it can be attached to the braided cord.
See what you can find at home to use for a weight, and if you can't find anything, you can still take the class and make a cord without a counterweight. We'll discuss the use of counterweights in class.
I prefer to use size 3 crochet cotton. But you can also use any size of crochet or pearl cotton, or embroidery floss (but NOT the cheap brands, use DMC or other named brands), narrow ribbon, rat tail cord, or other non-stretchy yarn or cord.
If you can't find any of those, stretchy wool or acrylic yarn will also work.